How to Install Ubuntu Desktop?
About Ubuntu
Ubuntu is one of the Linux distributions. It is derived from Debian and composed mostly of free and open-source software. There are multiple Ubuntu editions such as Desktop, Server, and Core. Ubuntu is especially for Internet of Things devices and robots.
Do You Know How to Install Ubuntu Desktop on a PC or Laptop?
If you are interested in Ubuntu, you can install the desktop edition on your computer to have a try. However, many users just don’t know how to install Ubuntu desktop on a laptop or PC. NewsPivot will introduce a full guide here.
Preparations
Before an Ubuntu installation, you need to prepare the following things:
- A laptop or PC with at least 25GB of storage space.
- A USB flash drive with a capacity of 12GB or above.
Your computer should meet the following system requirements:
- 2 GHz dual-core processor or better.
- 4 GB system memory.
- 25 GB of free hard drive space.
- Internet access is helpful.
Well then, how to install Ubuntu on your device? You can follow these steps.
Step 1. Download an Ubuntu Image
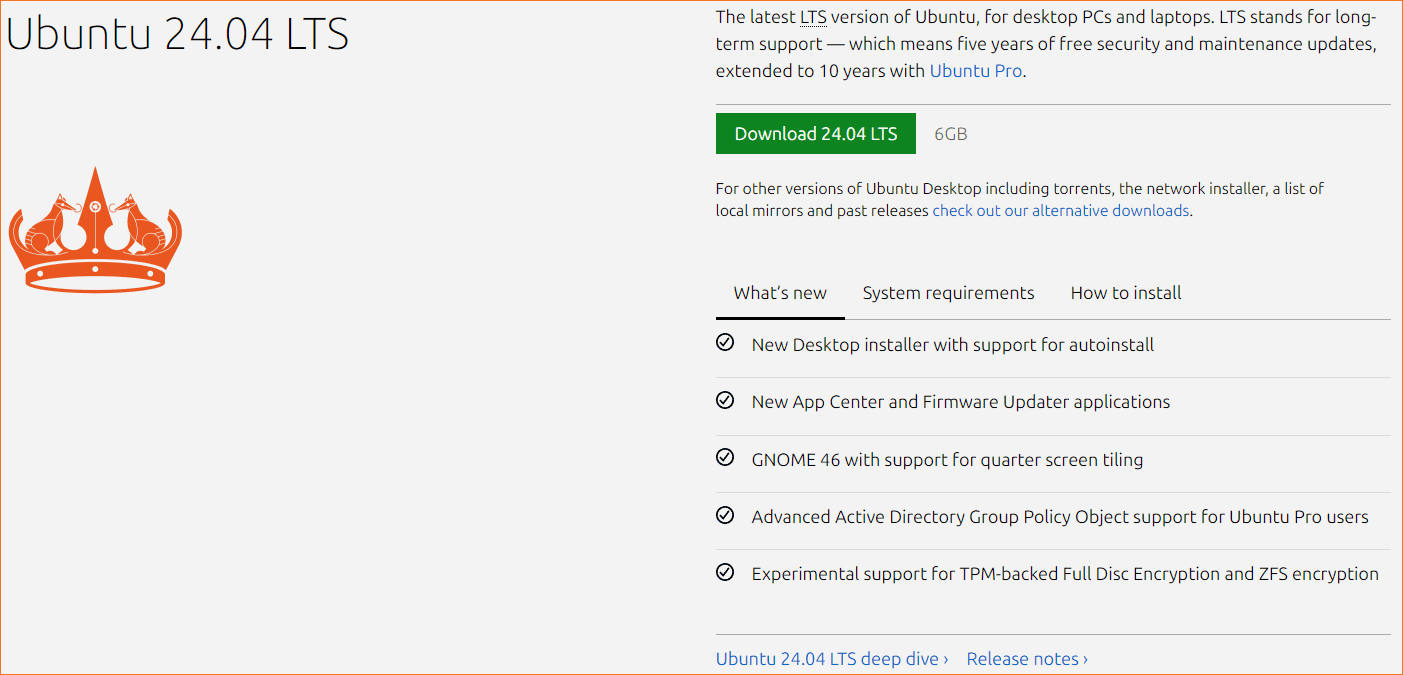
Before installing Ubuntu desktop, you need to download Ubuntu image. However, where to download an official image? You can go to this page https://ubuntu.com/download/desktop to download an Ubuntu image for desktop installation.
After entering this page, you can see that the latest LTS version of Ubuntu for desktop PCs and laptops is Ubuntu 24.04 LTS (Long-Term Support: five years of free security and maintenance updates, extended to 10 years with Ubuntu Pro). The size of the image is about 6GB. So, ensure that your disk has enough space to save this Ubuntu image.
Next, just click the Download 24.04 LTS button to download this Ubuntu Desktop installer on your computer.
Step 2. Create a Bootable USB Drive for Ubuntu Installation
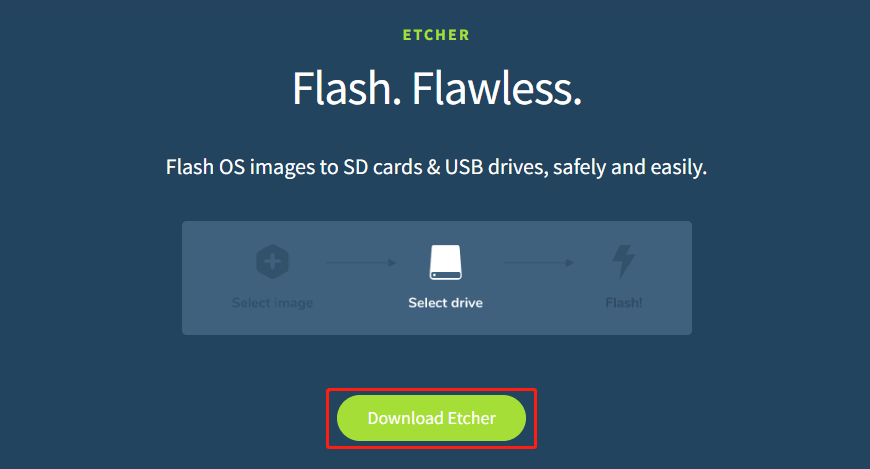
Just as you would when installing Windows, it’s time to create a bootable USB drive using the downloaded ISO file. You can use balenaEtcher to do this job and it can run on Linux, Windows, and macOS.
1. Go to this page https://etcher.balena.io/ and then click the Download Etcher button to continue.
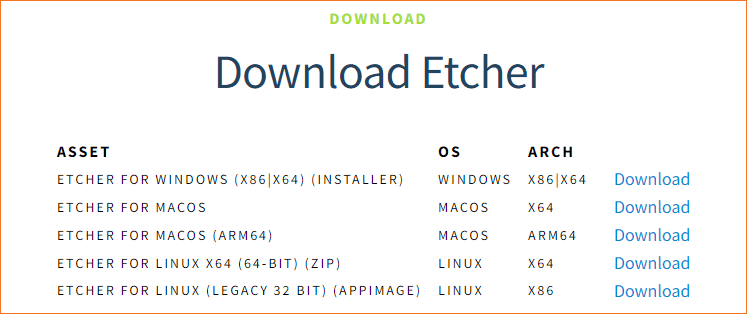
2. When you see the following options, select one version according to the operating system you are running to download. Here, I choose Etcher for Windows (x86|x64) (Installer) to download.
3. Install Etcher on your device, then launch it.
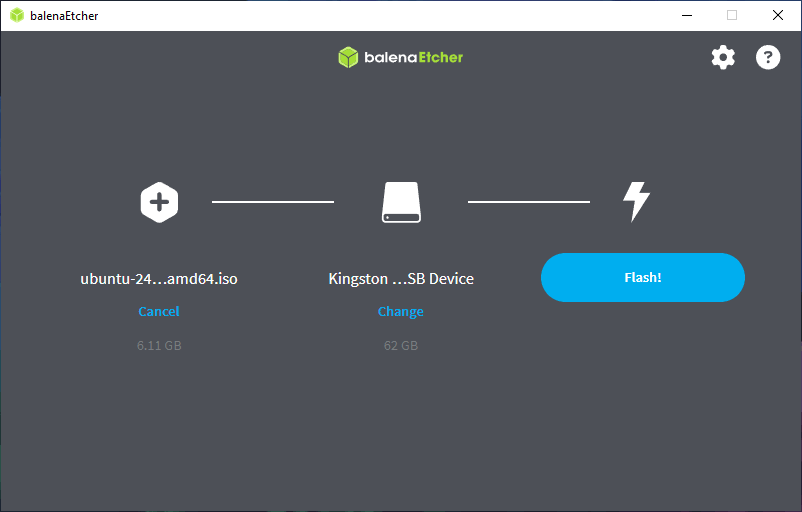
4. Click Flash from file and then select your downloaded Ubuntu ISO file.
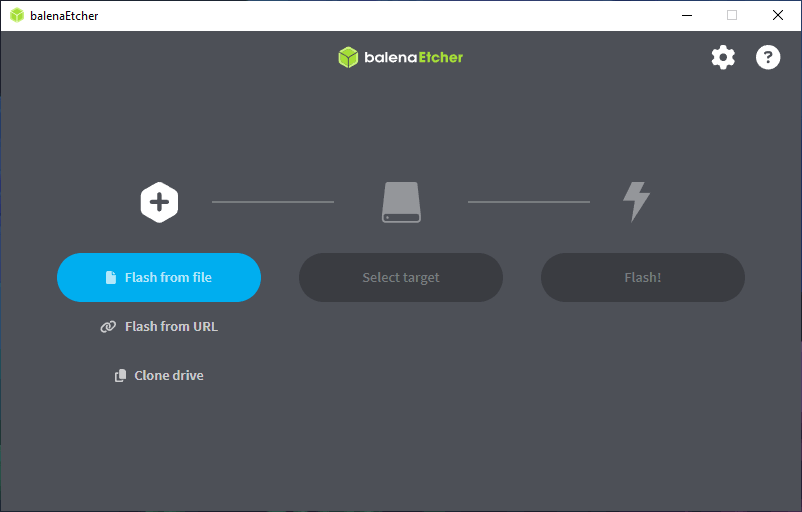
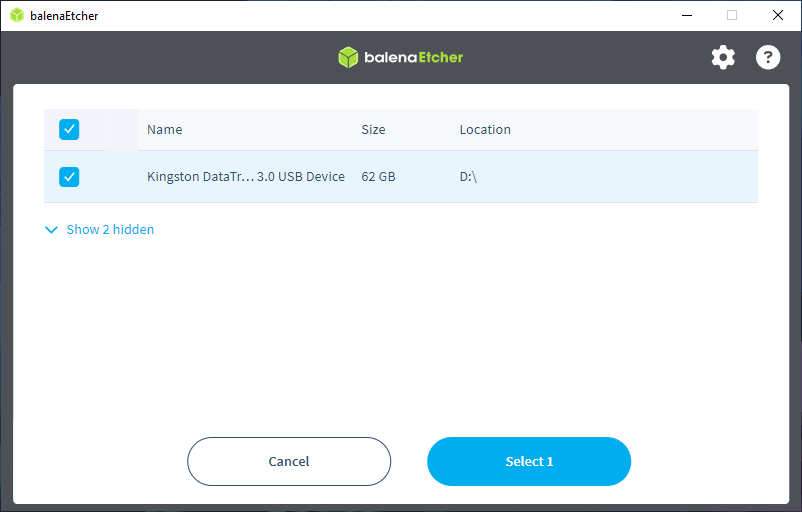
5. Click Select target and choose your USB drive. Then click Select 1.
6. Click Flash! to flash the OS image to the USB drive.
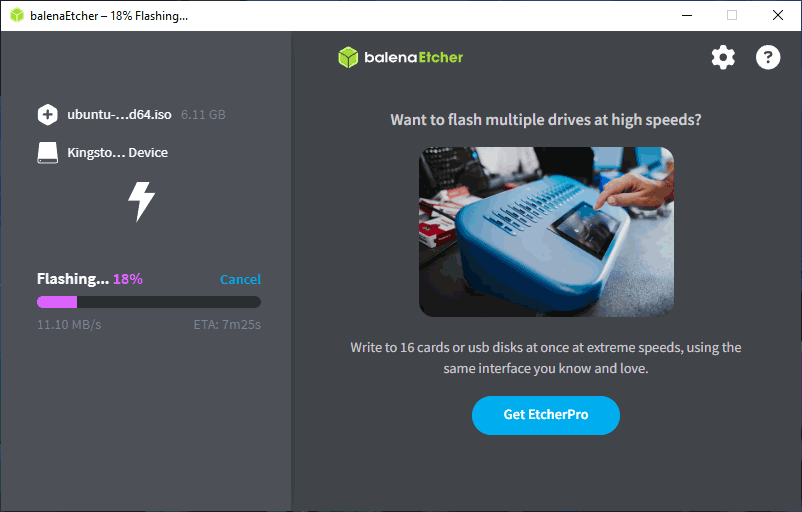
Etcher will begin to flash the ISO file to the USB drive. You should wait patiently until the process ends.
Unplug the USB drive from your computer when the writing process ends.
Step 3. Boot from the Bootable USB drive
Plug the USB drive into the computer on which you want to install Ubuntu, then boot or restart the device. The bootable USB drive should be recognized automatically on Ubuntu. If not, you need to press and hold the F12 key during the startup process and then set the computer to boot from the USB device.
Step 4. Set up Ubuntu Installation
Now, it’s time to install Ubuntu desktop on your device. Let’s start the Ubuntu installation setup:
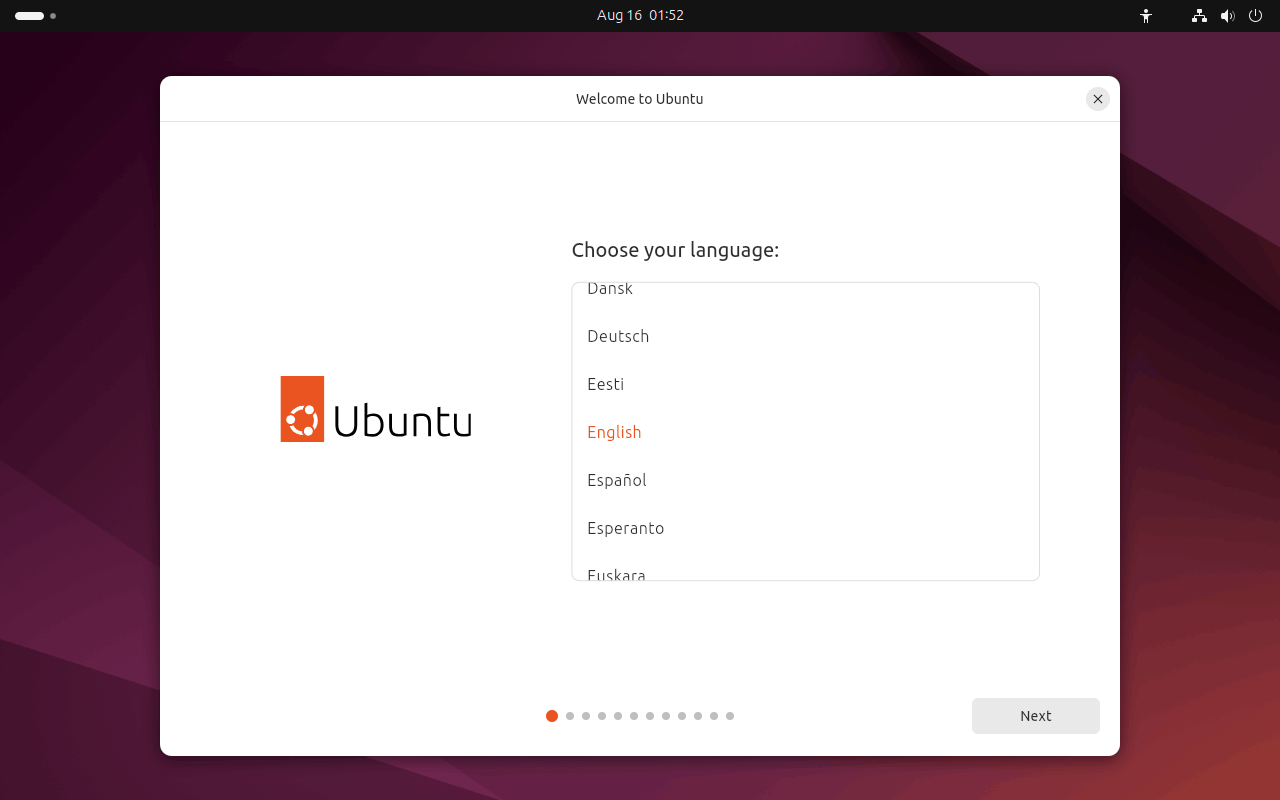
1. When the installer starts to work, it lets you first select the language you want to use. Just select it and click Next.
2. Choose the accessibility settings as per your requirements. Then click Next.

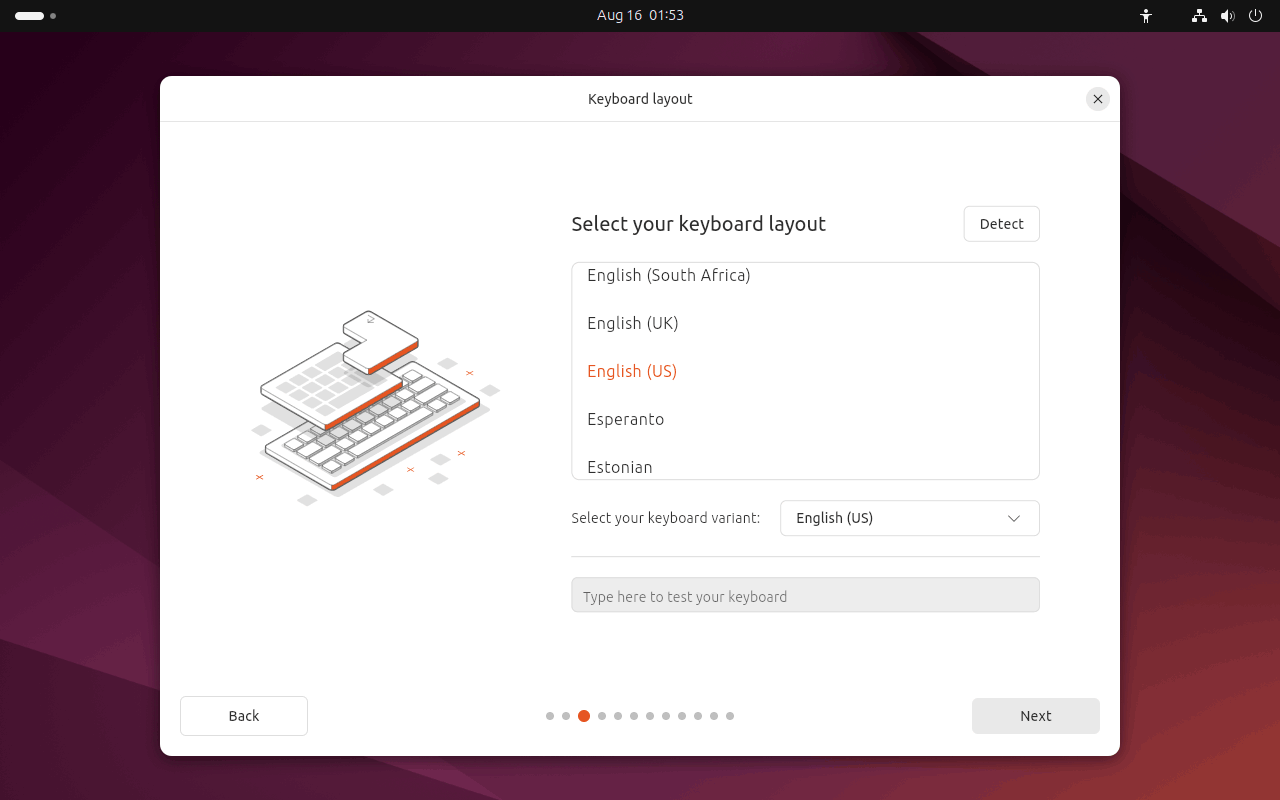
3. Select your keyboard layout and then click Next.
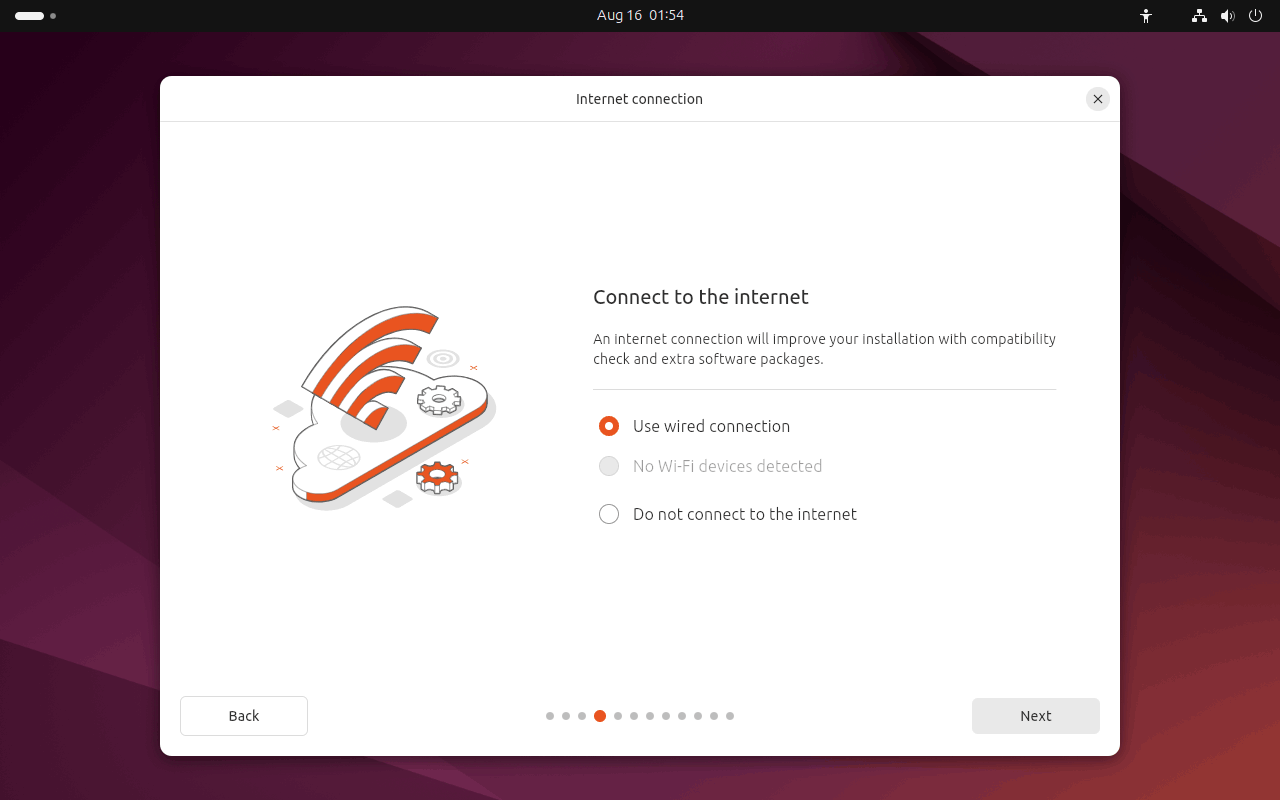
4. Choose to connect to the internet or not. However, what’s the difference? An enabled internet connection allows you to improve the installation with compatibility checks and extra software packages. For example, the system can download updates and third-party drivers like NVIDIA graphics drivers during the installation process.
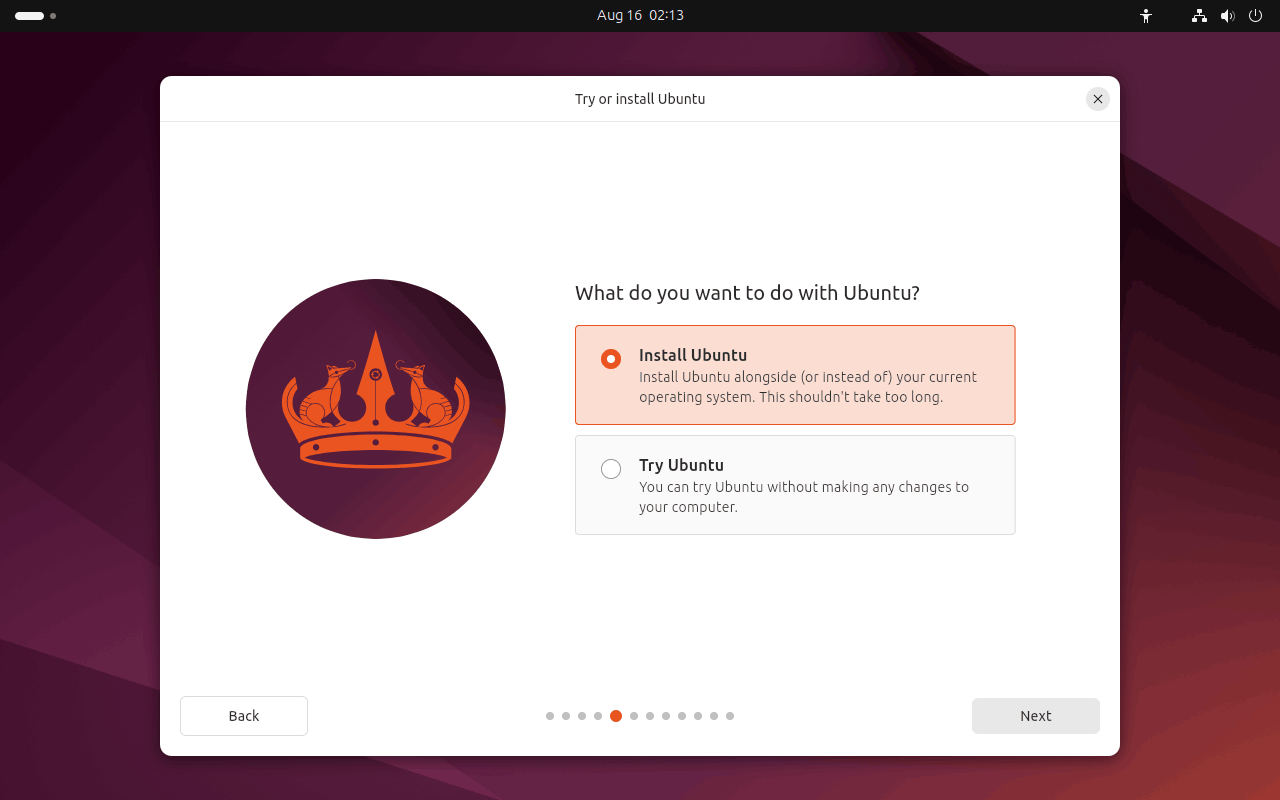
5. Choose the purpose you want to install Ubuntu on your device. Here, I choose Install Ubuntu because I want to install Ubuntu desktop. Then, click Next.
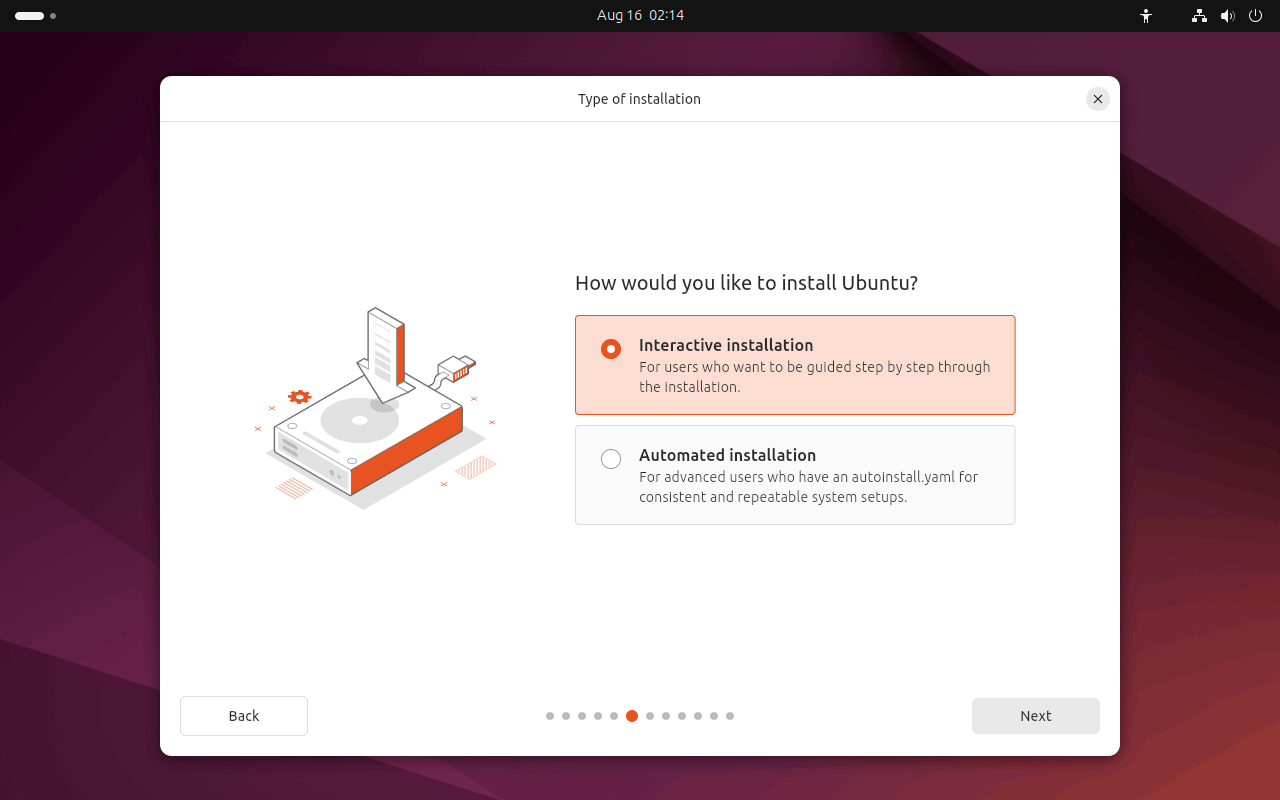
6. You need to choose Interactive installation or Automated Installation now.
If you are an ordinary user, you’d better select Interactive installation because it is a standard route that show a step-by-step guide. However, advanced users prefer to use the Automated Installation mode because it can import a configuration file from a web server to standardize multiple installs and add further customizations based on your needs.
Here, we take Interactive installation as an example. Select it and click Next.
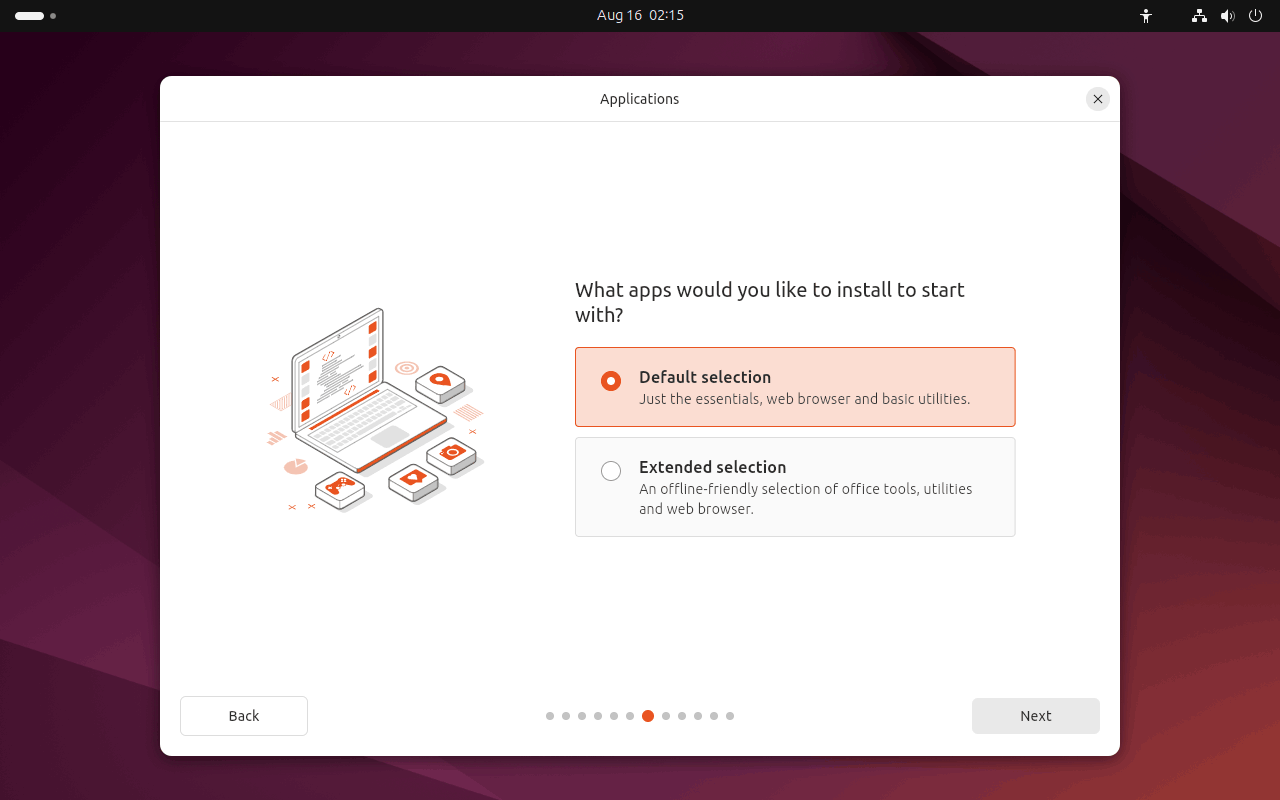
7. Select Default selection or Extended selection based on your requirements.
The default selection contains the basic essentials to start an installation, while the extended selection provides more office tools and utilities that are useful for offline situations.
Here, we take Default selection as an example. Select it and click Next.
8. On the next page, you are required to install third-party software. Selecting them may improve device support and performance as well as support for additional media formats. So, you’d better choose both of these two options: Install third-party software for graphics and wi-fi hardware and Download and install support for additional media formats.
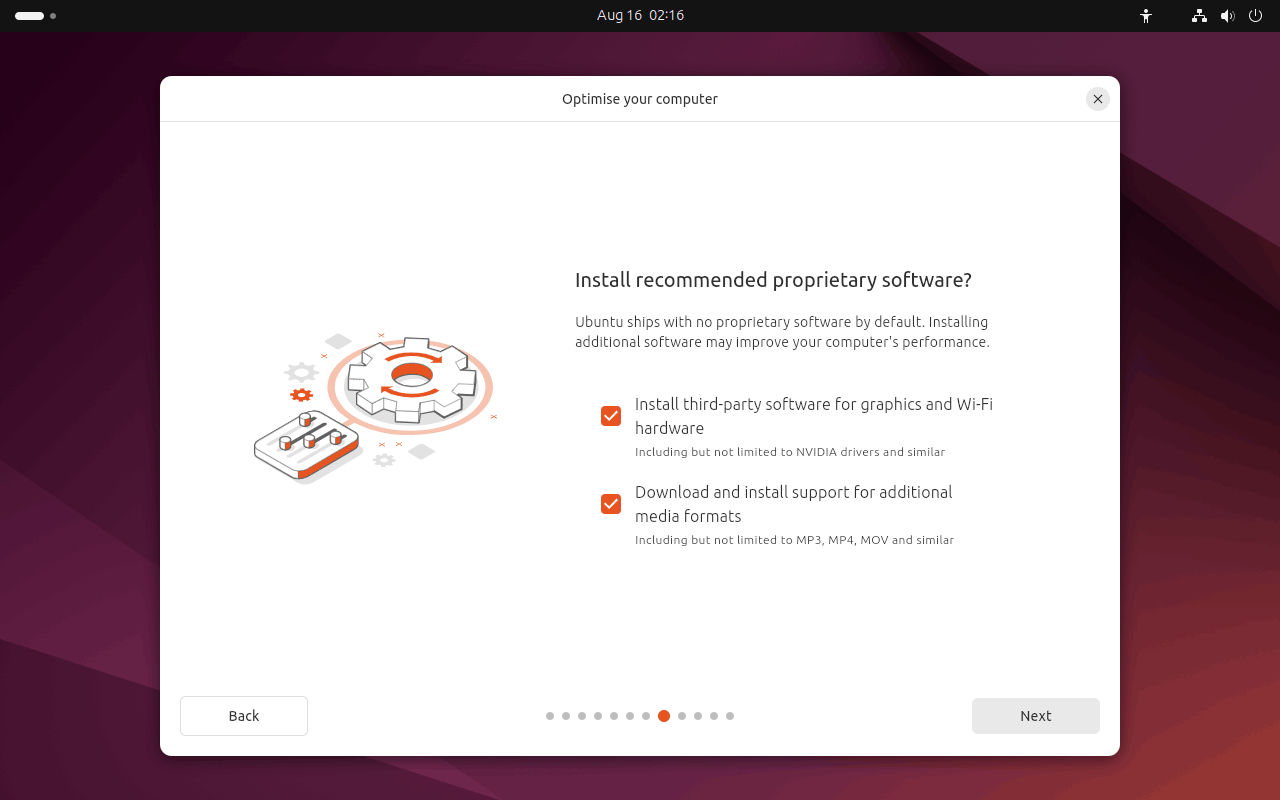
After choosing these two options, click Next. It will take some seconds to complete the process.
9. Now, you need to configure the installation.
Case 1: There Is no Other Operating System Installed on the Device
There will be two options in this case:
Option 1: Erase disk and install Ubuntu
If you want Ubuntu to be the only operating system on your hard drive, select Erase disk and install Ubuntu.

Under this option, you can see an Advanced features button. Click it to enter the following interface:
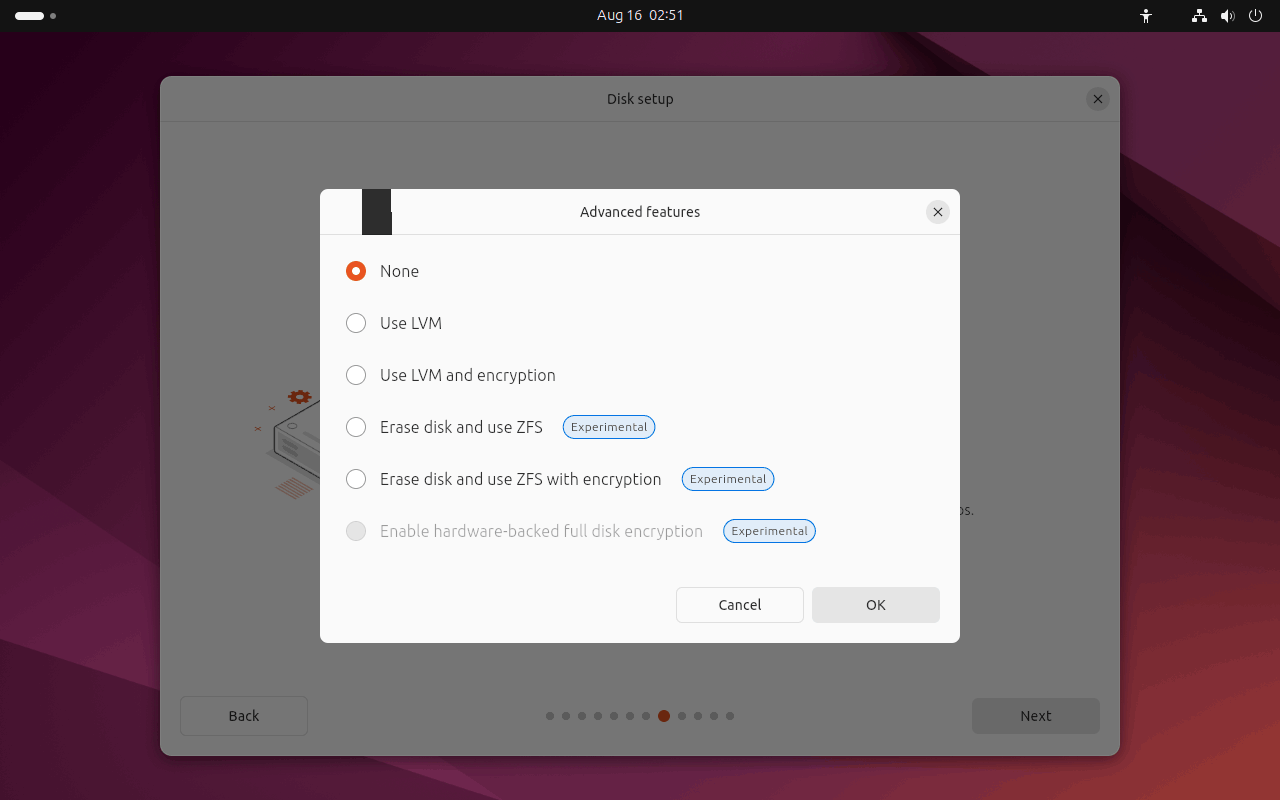
Here, LVM, stands for Logical Volume Management, makes it easier to create and manage partitions after the installation.
ZFS, stands for Zettabyte File System, allows you to create pooled storage volumes that span multiple drives along with snapshots and data repair features. If you are an advanced user, you can choose this powerful option.
Hardware-backed full disk encryption is a new and highly experimental feature of Ubuntu Desktop. However, it currently supports only the generic kernel. So, machines that require additional drivers to support webcams or NVIDIA graphics cards will not support this setup unless additional features land after release. Additionally, some hardware vendors might have BIOS settings that change the chain of trust. Only choose this option if you are confident in your ability to debug or reinstall if any issues arise.
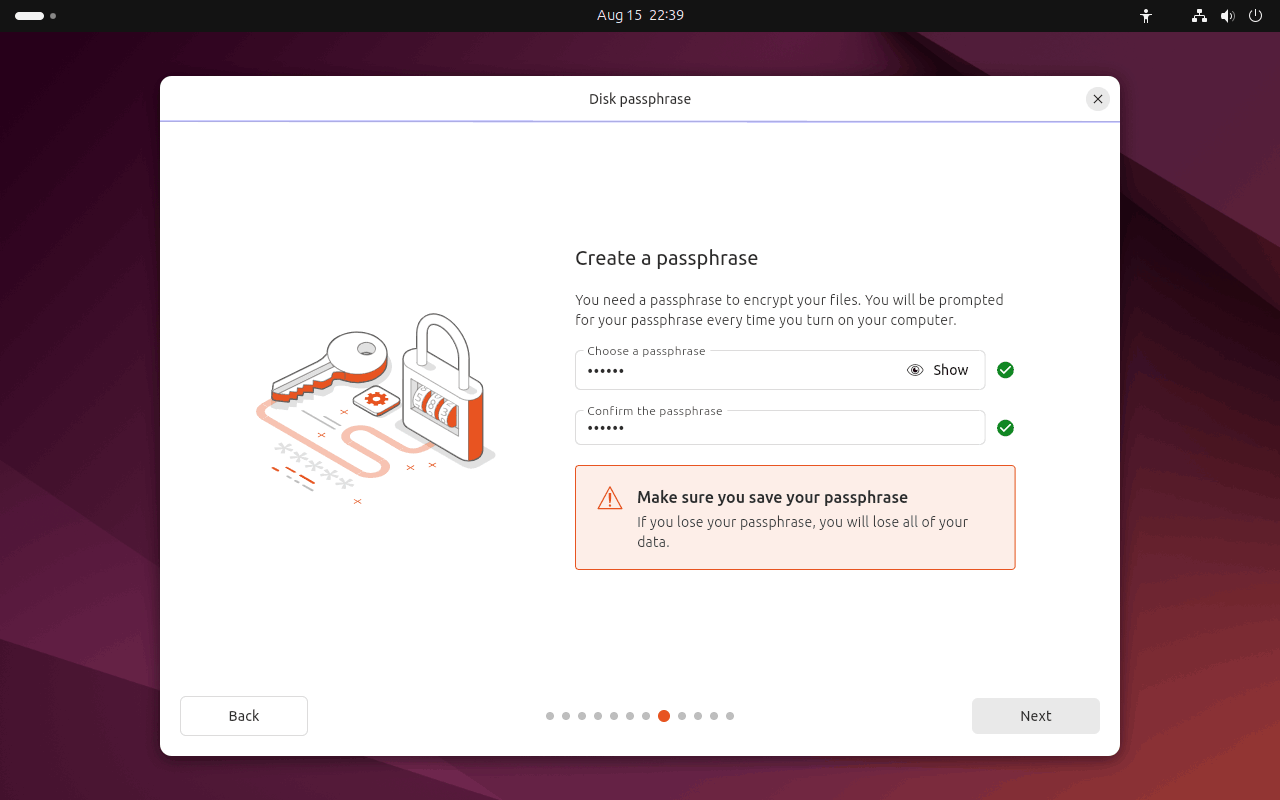
If you opt for using LVM or ZFS encryption, you’ll be asked to create a security key. This key will need to be entered at boot before you can log in with your user credentials.
If Hardware-backed full disk encryption is available on your device and you choose it, you will need to run the command snap recovery –show-keys after the Ubuntu installation to generate a recovery key.
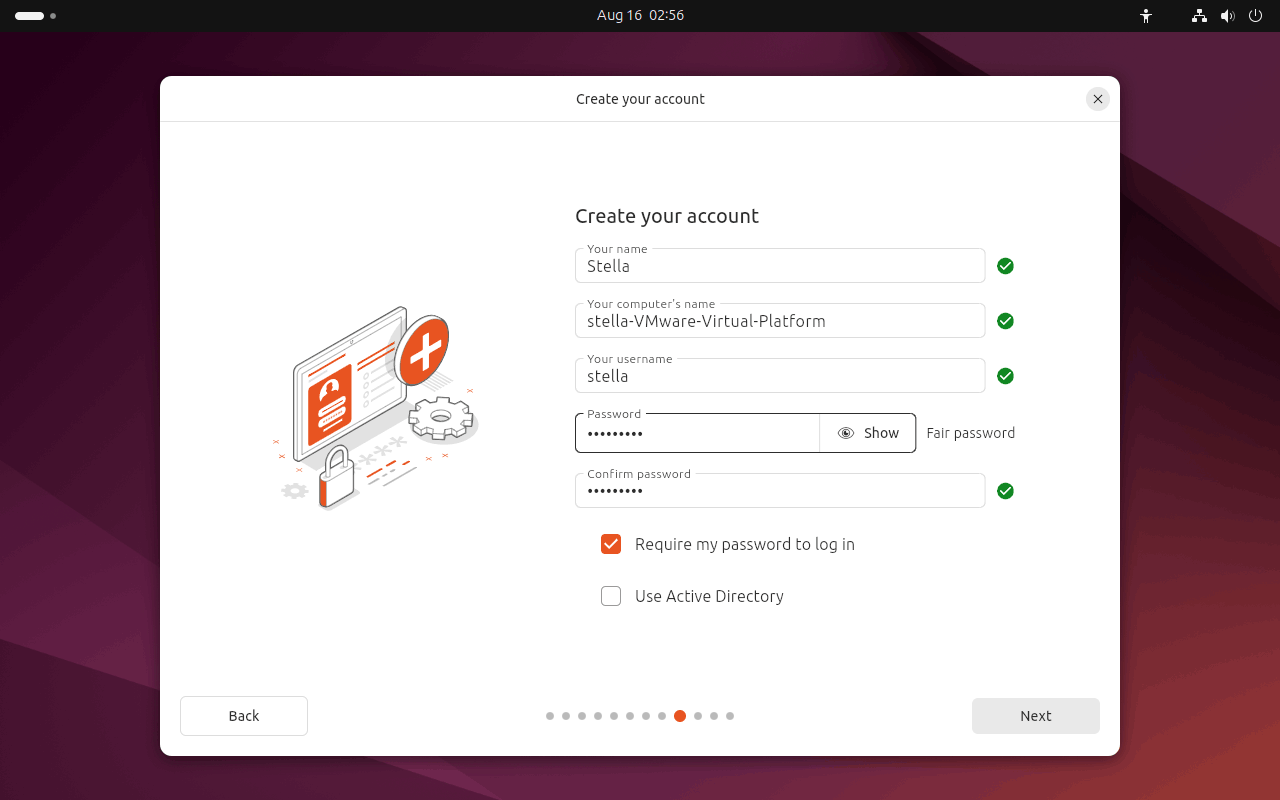
After clicking Next, you will be asked to create your account. Just enter your name and then your computer’s name will be automatically generated. Next, input your password twice to set it. Click Next to continue.
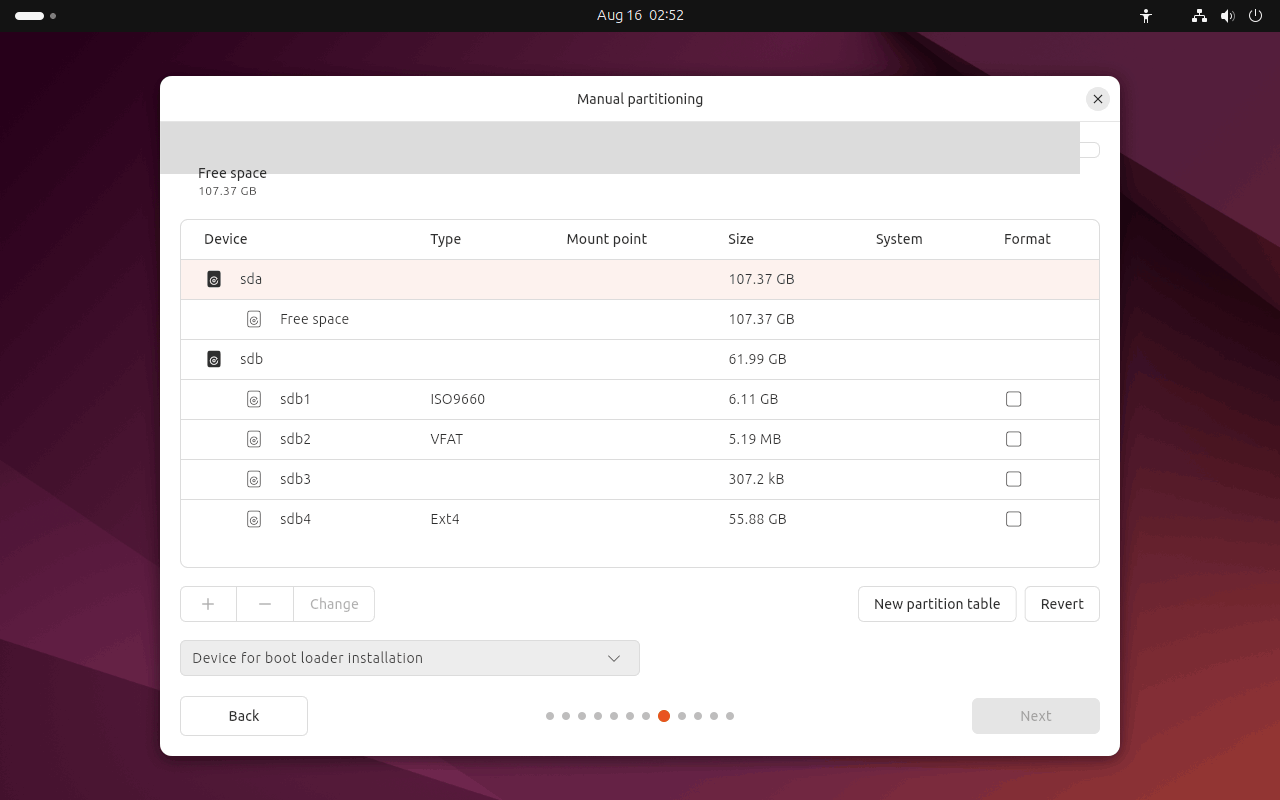
Option 2. Manual installation
If you are an advanced user and want to set up special configurations as per your requirements, you can choose Manual installation. After selecting this option, you can see all existing drives and partitions on the device. You can then create and manage new partition tables and configurations.
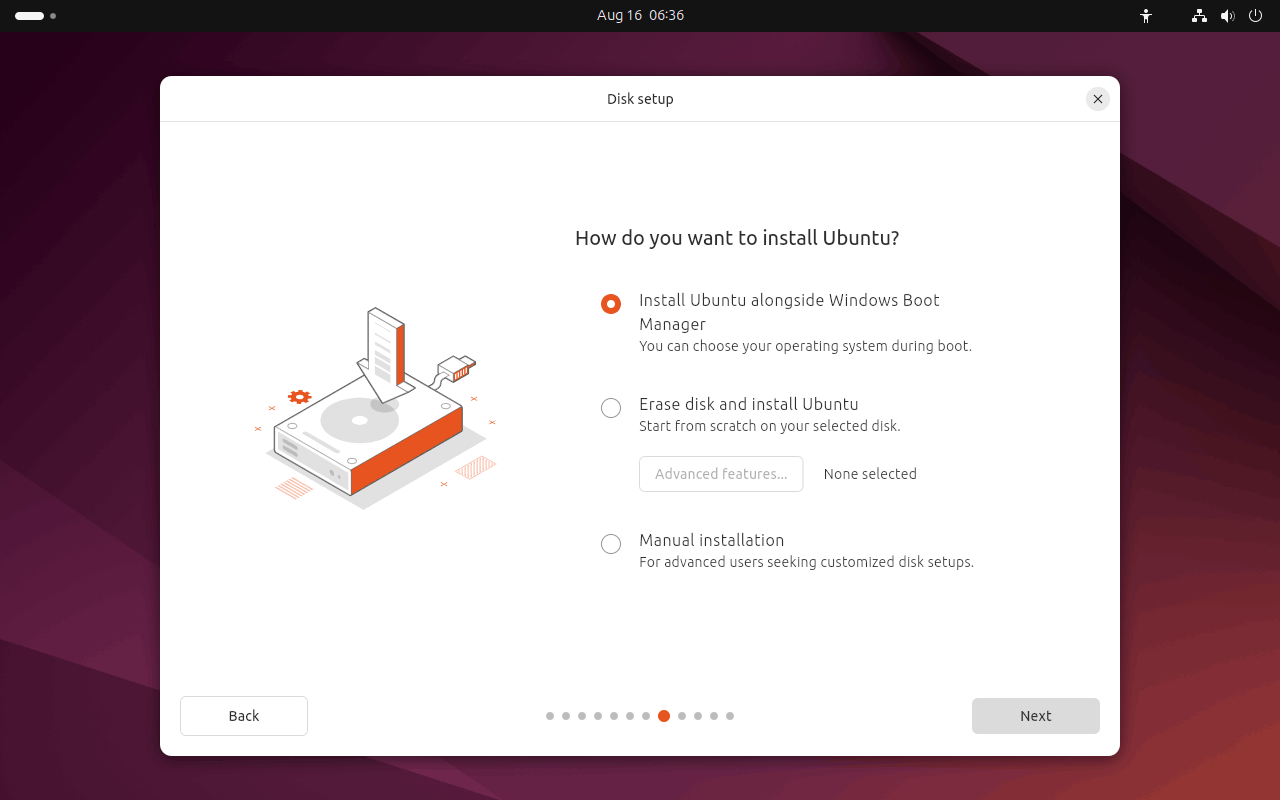
Case 2. There has Been an Operating System Installed on Your Device
If your computer has already installed an operating system like Windows 11 or Windows 10, you will see one more option on the How do you want to install Ubuntu page. This option is Install Ubuntu alongside Windows Boot Manager. Select it and click the Next button.
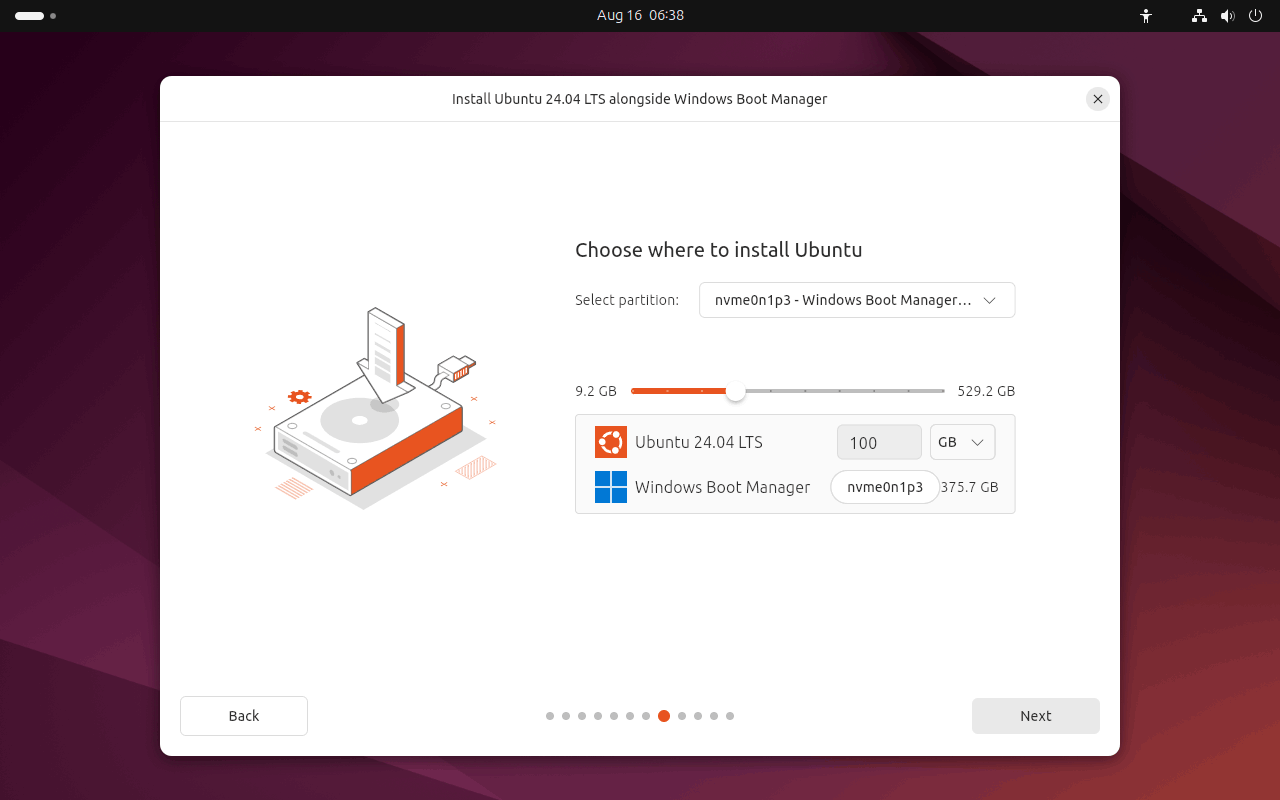
The next page allows you to choose the drive you want to install Ubuntu on. A slider is there for you to decide the amount of disk space for Ubuntu. After making your settings, click Next to continue.
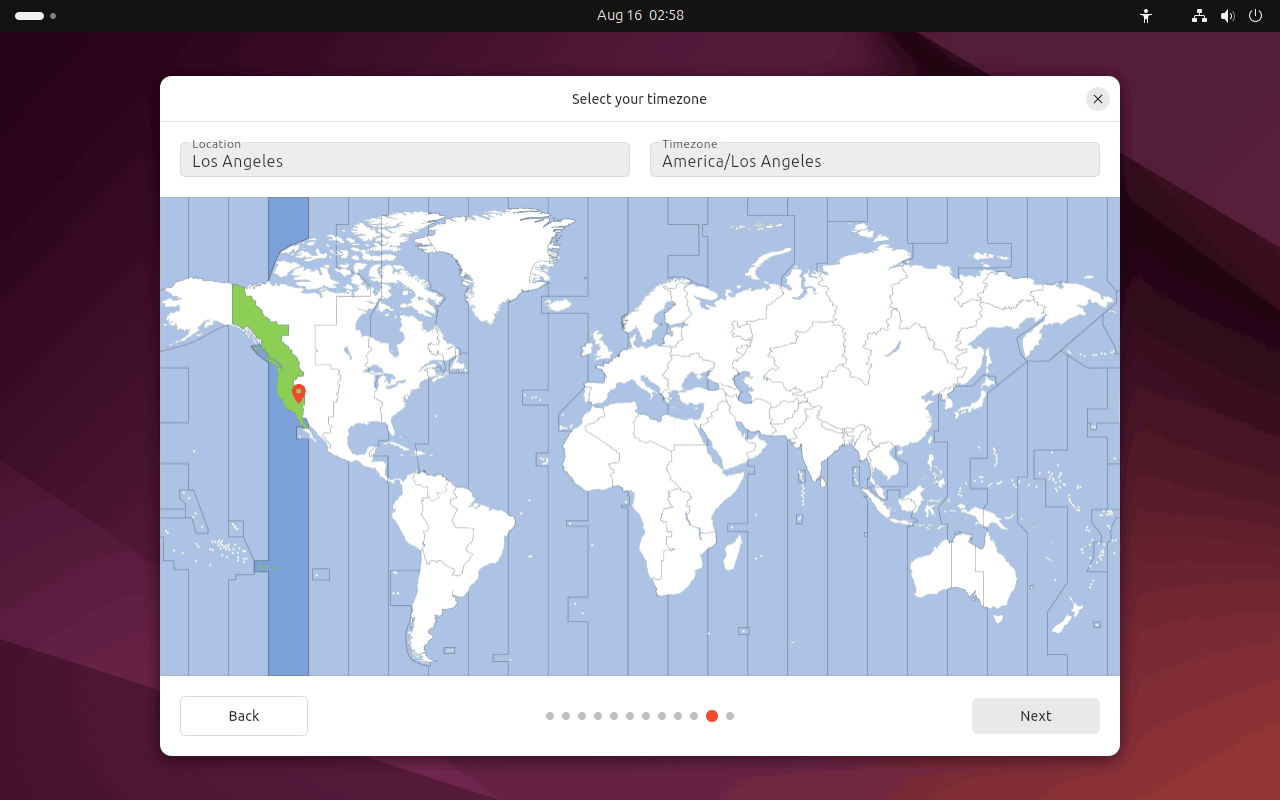
10. On the next page, you will see a map screen on which you can select your Location and Timezone. If you are connected to the internet, the information will be detected automatically. However, you can modify it according to your situation. Then, click Next to continue.
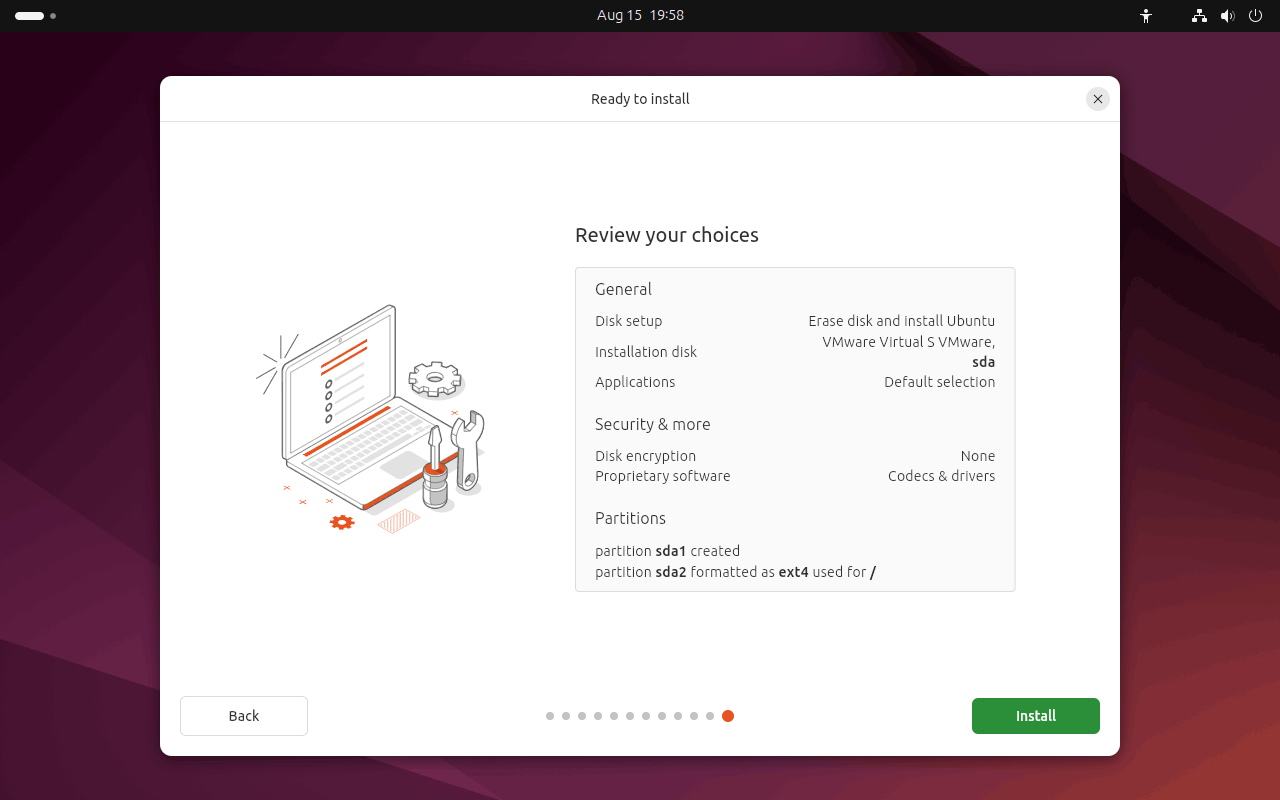
11. You can review your choices now. If everything is OK, click the Install button to start the installation process.
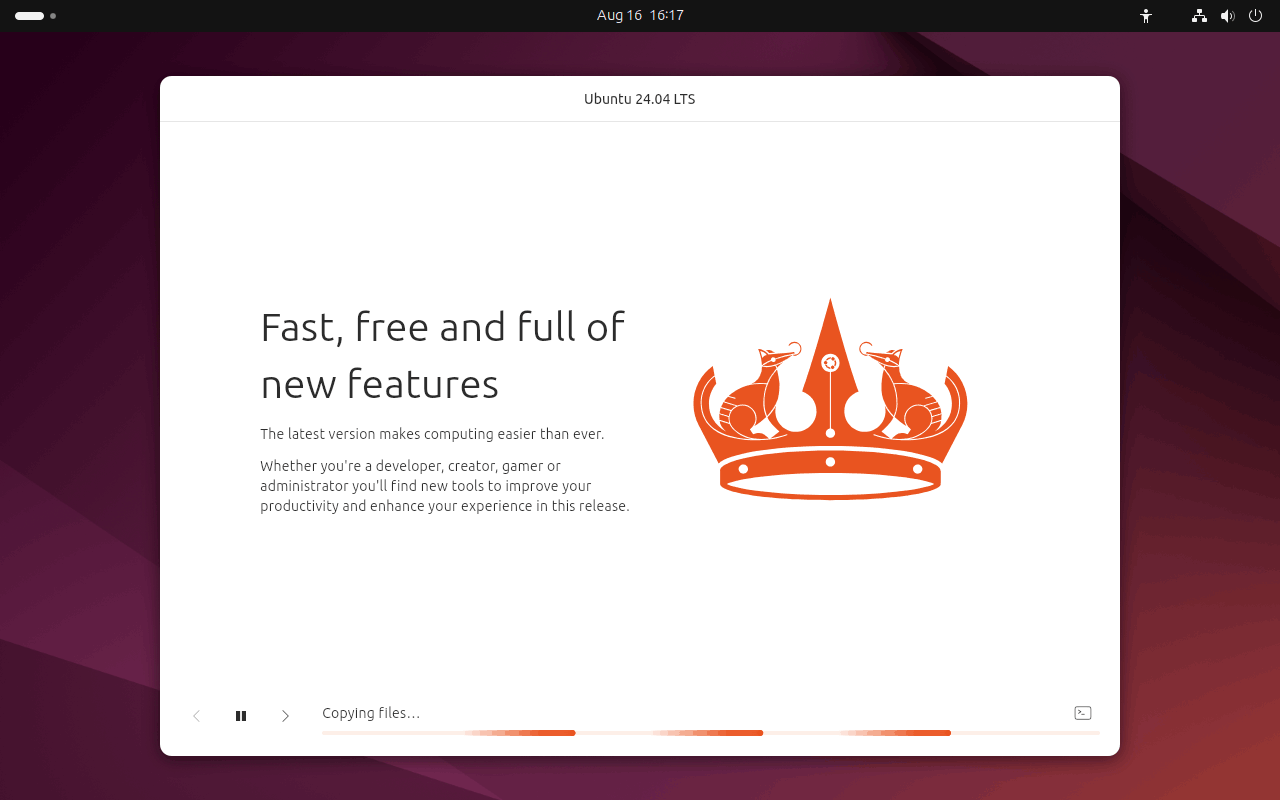
Now, the Ubuntu installer is installing the system. You should wait patiently.
Step 5. Restart Your Computer
1. When the installation process ends, you will be asked to restart your device. Click the Restart Now button to do it.
2. Once you choose to restart, you will be asked to remove the bootable UBS drive from your PC or laptop. Just do it and then press ENTER.
3. Enter the encryption password if you have set one during the installation process.
4. Enter your username and password when you see the login screen.
5. Now, you can see the Ubuntu desktop. Through the welcome widget, you can configure some additional setup options:
- Attaching an Ubuntu Pro free personal or paid subscription to receive and apply additional security patch updates to your device. However, this option only works when you are running a long-term support [LTS] version of Ubuntu.
- Choosing to send device information to Canonical to assist in improving Ubuntu.
- Downloading more apps from Ubuntu Software.
After these steps, Ubuntu desktop is successfully installed on your PC or laptop. However, to get the best performance, you’d better check for updates to install the latest updates on your device.
Step 6. Update Ubuntu
In general, there are two ways to update Ubuntu: using Software Updater and using the Terminal. We will introduce these two ways in this post. You can select one according to your situation.
Update Ubuntu Using Software Updater
You can do this through the Software Updater app and this way is used by most common users. Here is a guide:
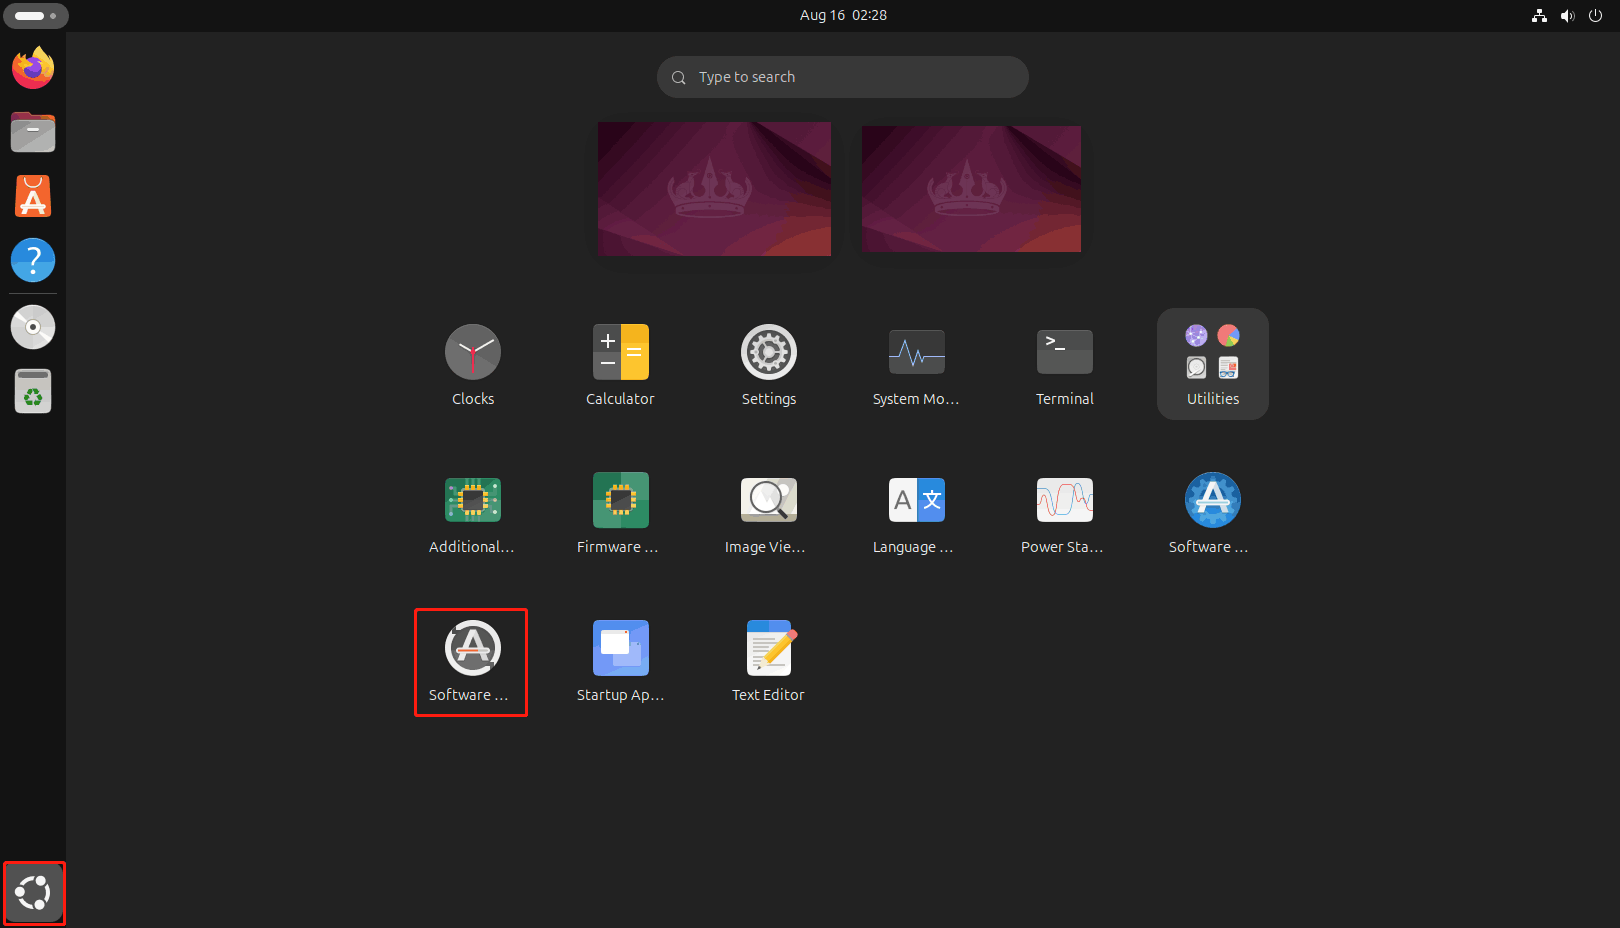
1. Click the Show Apps icon (in the bottom-left corner) and then select Software Updater. If there are many apps, you can use the search bar to locate Software Updater directly.
2. Click Software Updater.
3. This app runs and automatically checks for updates. This checking process may take a few seconds, so just wait patiently.
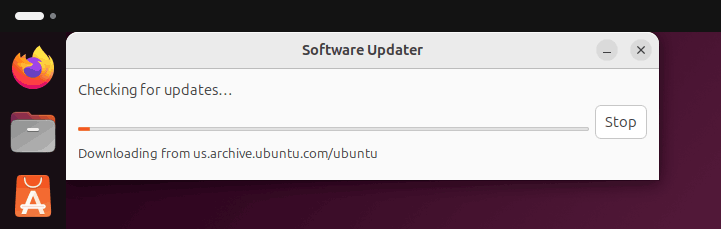
4. If there are available updates, you need to choose to install the available updates. Likewise, wait until the update process ends.
Update Ubuntu Using the Terminal
You can also run special commands in the Terminal to update Ubuntu. Here is how to do this:
1. Press Ctrl+Alt+T to call out the Terminal window. Alternatively, you can also select Terminal from the Show Apps menu.
2. Enter the following command: sudo apt update, then press Enter.
3. Enter your login password when asked and press Enter. After that, the system will begin to check for updates and tell you if there are available ones. If yes, you need to enter this command to install the update: sudo apt upgrade.
4. Type Y and then press Enter to start the update process.
Bottom Line
How to install Ubuntu? This article introduces a guide in detail. Just follow it to enjoy the Ubuntu installation process. Once you get it, you can experience this system free.
About The Author

Position: Columnist
Stella is an experienced news reporter at NewsPivot. She focuses on computing and mobile device issues like Linux and Android. As an English Editor, she has more than 14 years’ experience. Hope her articles can answer your questions.